Thank you for purchasing. We sincerely hope you have no trouble in using Maymom product.
Many of the breast pump parts are consumable and need to be replaced after a while. Dealing with them appropriately will make them last longer and cost you less.
For detail information of each product, please refer to the instructions with the package. If there is further question or any thoughts of our products, just contact us.

The products we manufacture usually have shelf life of 5 to 10 years.
They are all made of safe materials, BPA free and DEHP free. The heat-resistance differs from materials. (Refer to table below)
| Material | Silicone | PVC (Polyvinyl Chloride) |
PP (Polypropylene) |
PE (Polyethylene) |
| Heat-Resistant | -20~120°C (-4~250°F) |
-10~75°C (14~170°F) |
-10~120°C (14~250°F) |
-10~110°C (14~230°F) |
Keep them away from direct sunlight is to prevent from spoilage.
The primary principle is that all pump parts that contact with breast milk, such as breast shields, valves and flange inserts, should be cleaned after each use. The grease from breast milk will make the part surface slippery and will be difficult to clean if gets dry, so it’s highly recommended to rinse the pieces in cool water as soon as possible after pumping.
Before first use, and once daily
- Dissemble all parts before cleaning. Clean with hot soapy water and rinse clean.
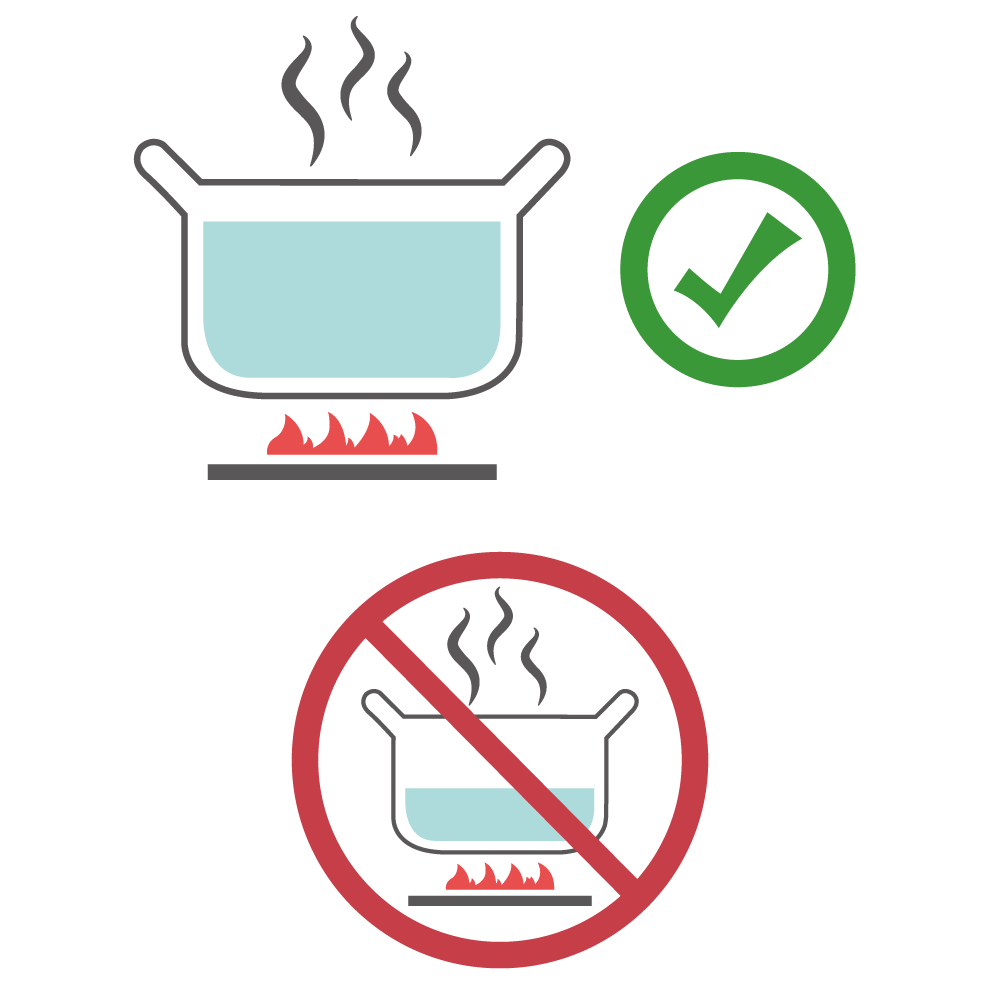
- Fill a pot with enough water to cover all parts, boil the parts in boiling water for 3-4 minutes.
- Place the pieces neatly on a clean paper towel or in a clean drying rack and allow them to air dry.
- When boiling, make sure to have plenty of water in the pot. The rim of the pot without water will become over-heated and it will melt the plastic.
After every use
- Disassemble, clean and rinse the parts in warm water. Air dry completely.
Dishwasher Safe: Top Rack Only
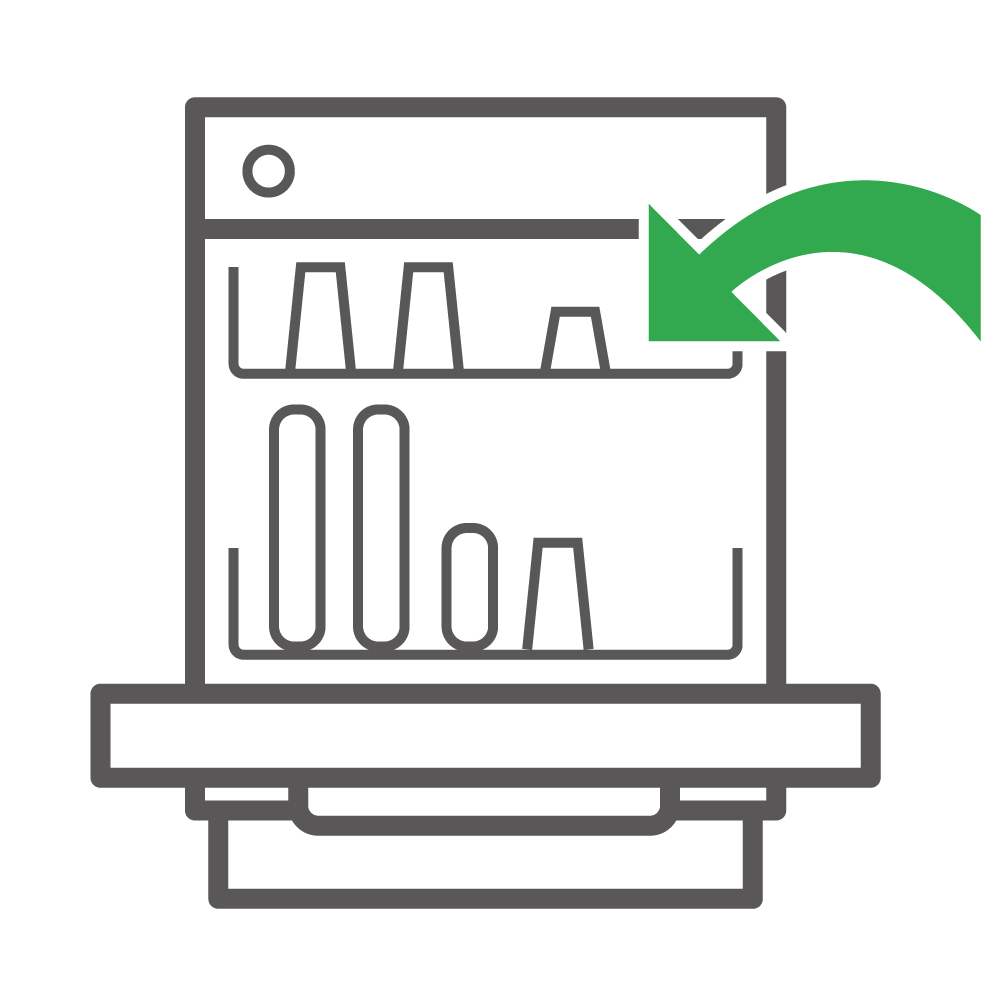
Most of our products can be cleaned with a dishwasher. Remember to switch to low heat drying and put the parts on the top rack (away from the heat element).
For those small and fragile parts like duckbill valves which are likely become lost or damaged during the cleaning process in a dishwasher, it is recommended to clean by hand wash.
Using the dishwasher may cause your parts to become discolored, but don’t worry – this won’t impact how they function.
NOT Necessary to Clean: Tubing
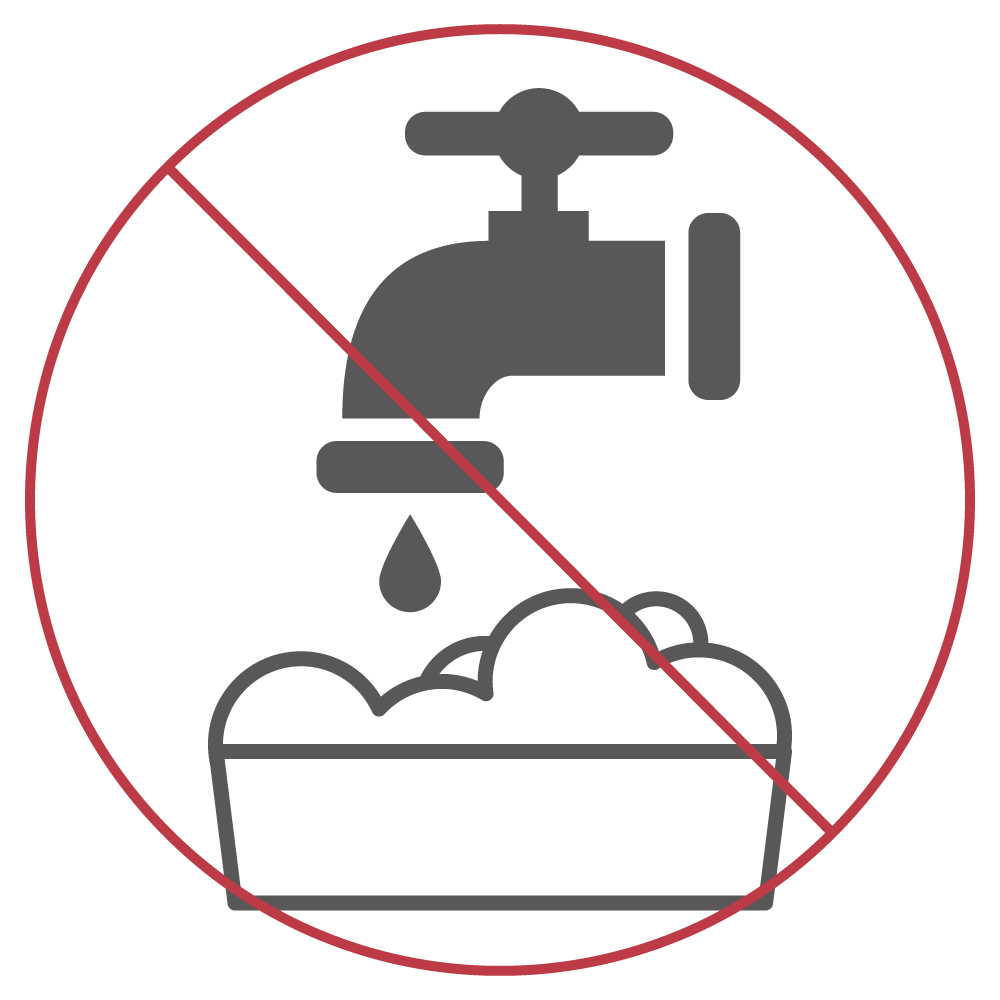
The tubing is not necessary to clean because milk will not come in to contact with it. If small water drops (condensation) appear in the tubing after pumping, turn on the pump for a few minutes until the tubing is dry. If the tubing becomes dirty, use a damp towel to wipe the dust off.
- Do not use UV, steam to sterilize the tubing.
- Do not leave the tubing in a car for a long period of time. The extreme weather might cause damage to the tubing.
- The tubing is not a toy. Keep the tubing away from children and pets.
Reduce Times of UV Sterilization as Possible
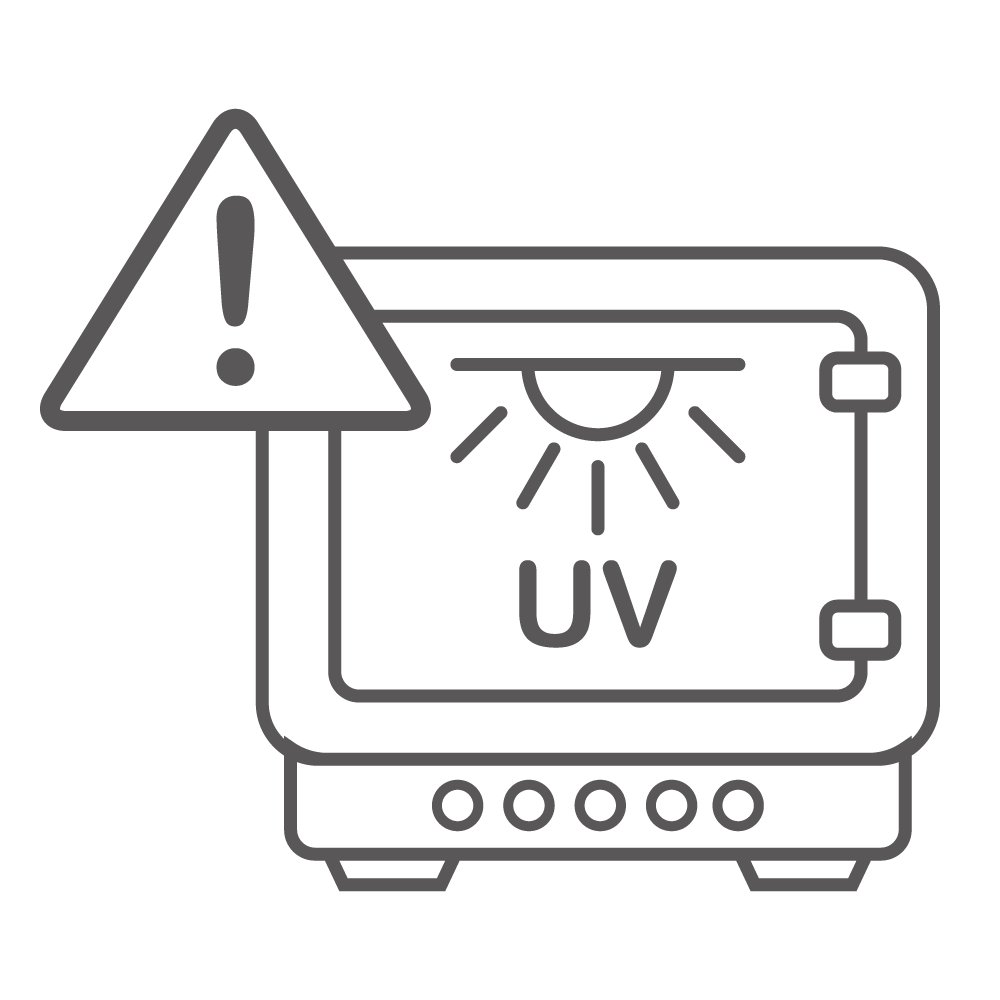
We understand how convenient a UV sterilizer is when there is pile of kitchenware to be sterilized. But we also know the effect of UV light on plastic products, especially pump parts made of polypropylene (PP) which needs to be cleaned thoroughly very often. The material for plastic products can differ a lot due to the usage purpose. Pump parts and feeding accessories are made to contact breast milk, so they are made from food-grade material. Unlike beach chairs, storage bins, or plastic pallets, made to use outdoors and are often added anti-UV elements.
If you use a UV sterilizer to sterilize PP-made pump parts very often, they are inclined to discolor and become fragile shortly.
NEVER Put in Microwave: Milk Bag Adapter

There is stainless steel spring inside. DO NOT clean or sterilize the milk bag adapter in any microwave oven or steam bags. The stainless steel part will melt the product at high temperature.
Hand Wash the Tiny and Fragile Parts: Membranes

Please hand wash the membrane with care. DO NOT pull or stretch.
They are subject to wear and tear. For optimal performance, you should replace a new one when you detect worn and torn membrane.
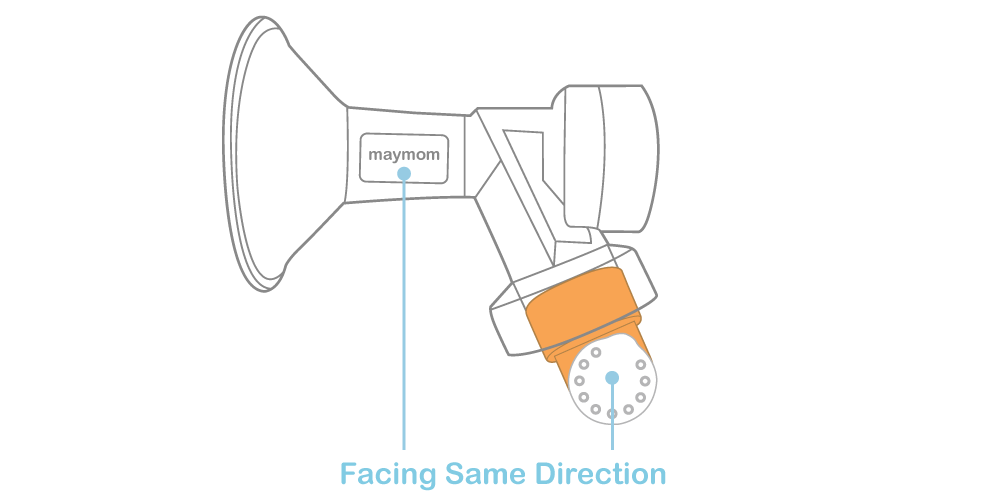
Installation
Gently and symmetrically push the valve onto breast shield. DO NOT push it in too hard as it will make removal very difficult.
However, if it is not tight enough, there might be air leak. Loss of suction power will occur.
Make sure that logo and membrane are facing the same direction.
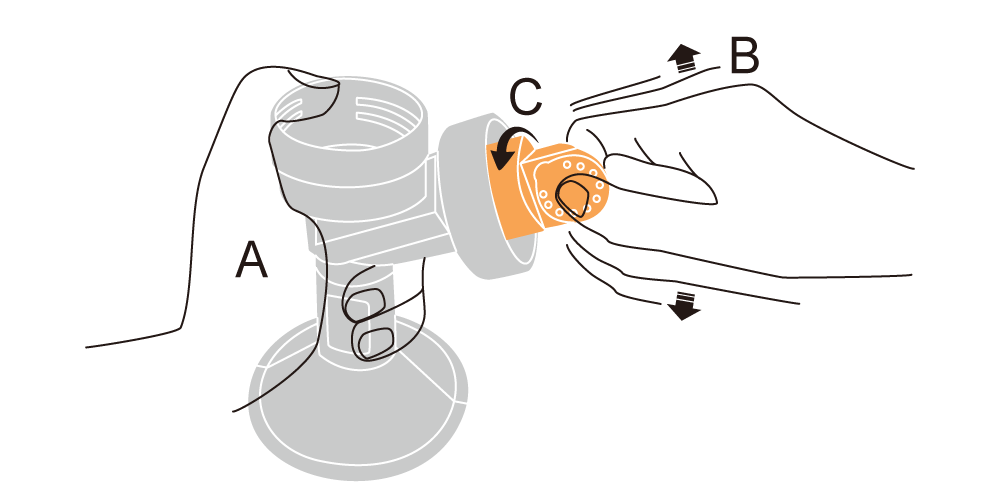
Removal
First remove the membrane from the valve (see TIP below) then:
(A) Hold the breastshield tight with one of your palms
(B) Rock the valve left and right until you feel it is loose.
(C) Twist-turn the valve, and pull it off.
TIP: Removing the membrane by pushing it out from the inside of the valve rather than pulling it off from the outside can prolong the life of
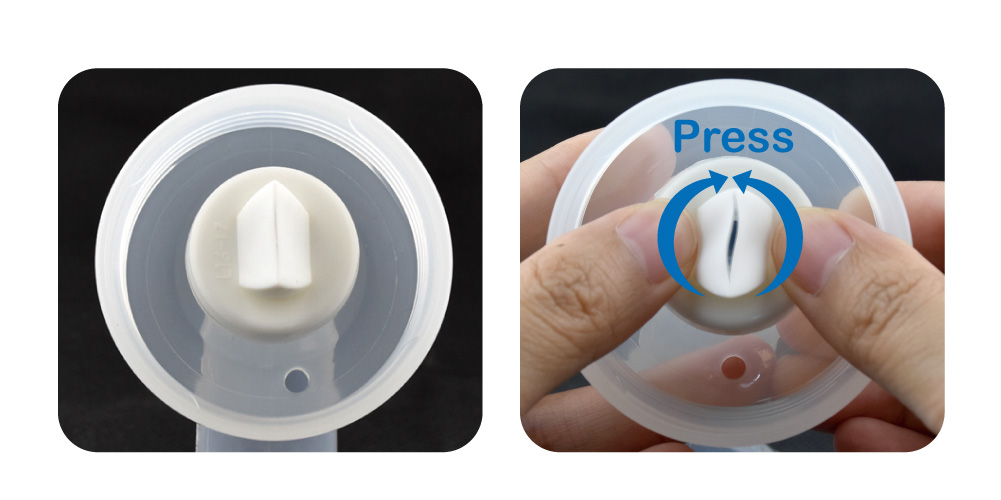
Installation
Symmetrically attach the valve onto the flange.
If you see a large open gap, please press around the rim of the valve until the gap is smaller than 0.5 mm.
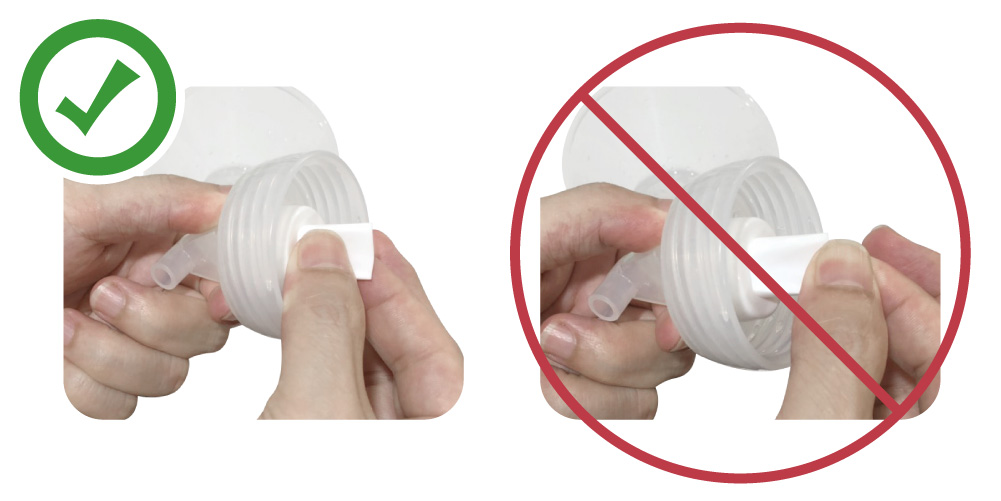
Removal
Hold the two flat sides of the duckbill near the base and pull sideways.
DO NOT pull the thin tips.
Installation
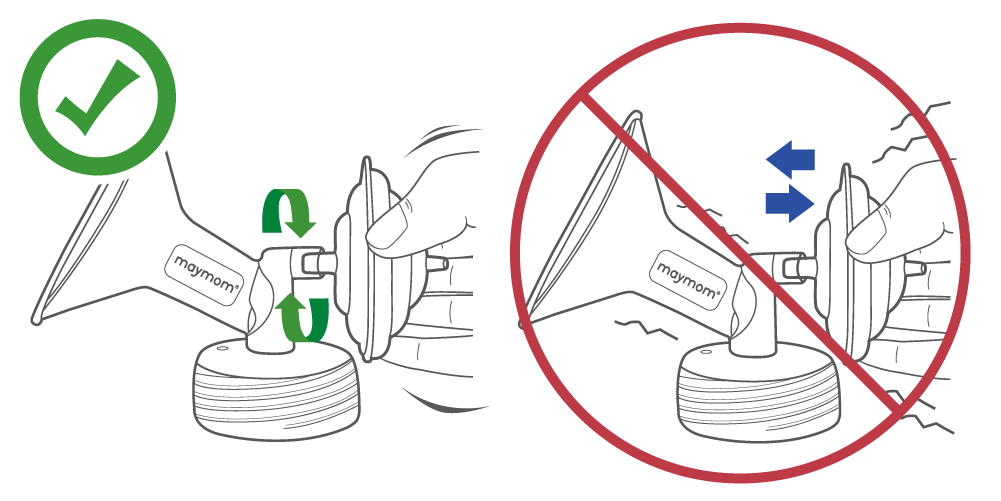
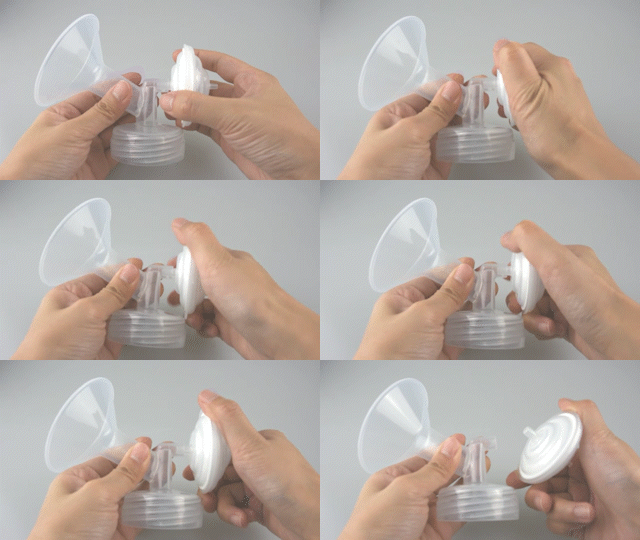
TURN backflow protector to insert/remove into/off the flange
Removal
DO NOT pull/push with force.
DO NOT push it all the way in. It is not a defect to see a gap between Maymom flange and the protector.
Removal
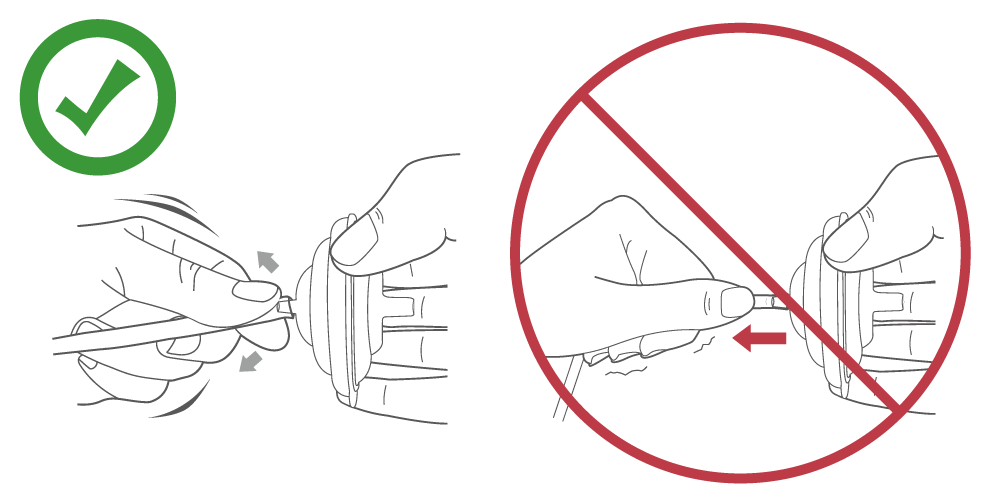
Wiggle the tubing to remove. (Maintain longer life time)
DO NOT pull to remove the Tubing.

